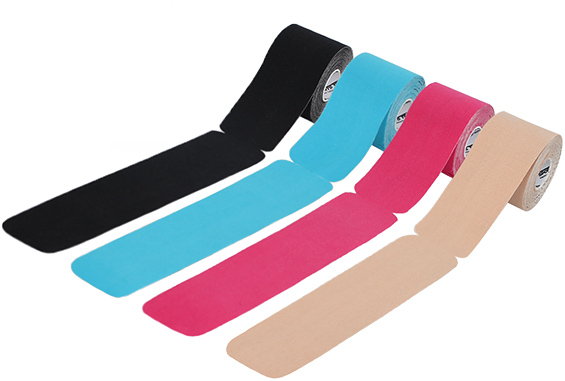

Easy to use thanks to their pre-cut format
Latex-free
Hypoallergenic
Waterproof
Adhere on the skin for up to 5 days

Neck: front
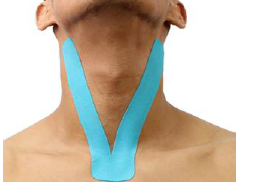
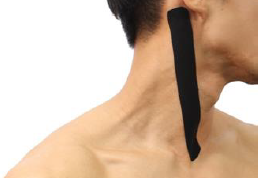
Neck: side
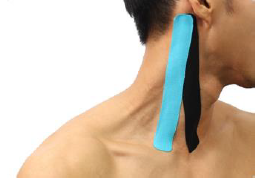
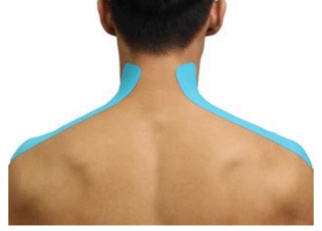
Neck: back
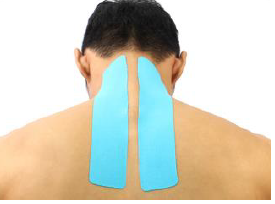
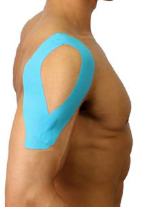
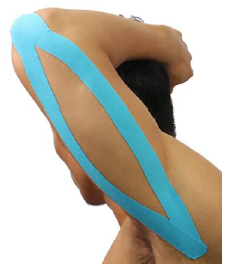
Shoulders
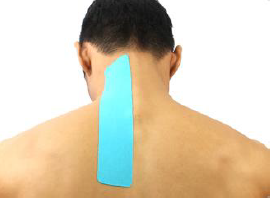
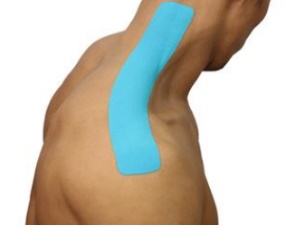
Back of neck and shoulder

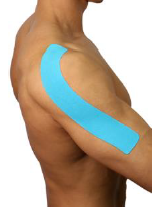
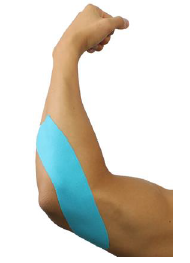
Triceps
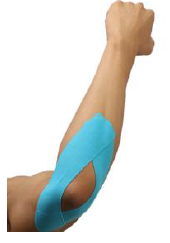
Elbows
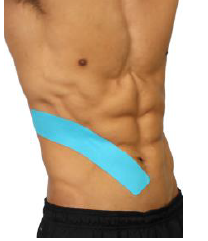
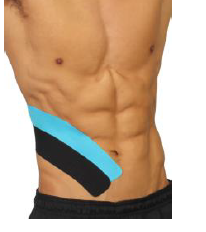
Abdomen
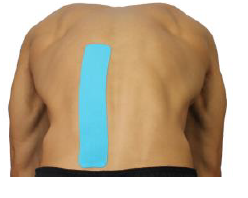
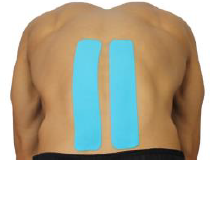
Back

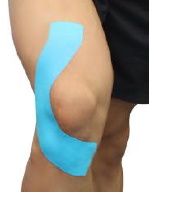
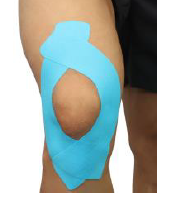
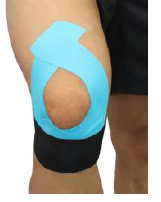
Knees
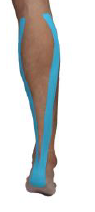
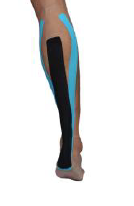
Calf
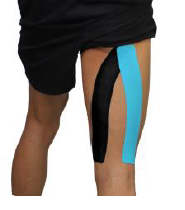
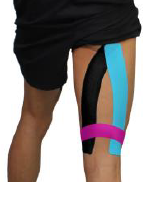
Thigh

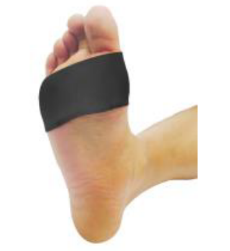
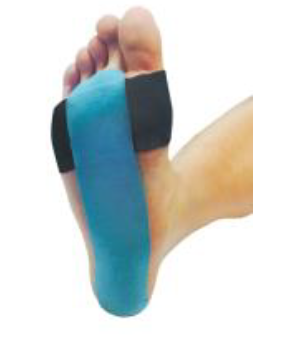
Foot arch